No products in the cart.
When I first started making and burning candles, I thought relighting was as simple as striking a match and touching the flame to the wick.
Over time, I learned that the way you relight a candle has a huge impact on how cleanly it burns, how long it lasts, and even how safe it is in your home.
Relighting incorrectly can cause unwanted smoke, leave soot particles on your walls, or create uneven wax pools that waste the candle.
This blog is all about the best practices for relighting candles. I’ll share practical candle care tips, safety practices I’ve tried myself, and methods that keep your candles burning beautifully.
Whether you enjoy luxury scented candles like Jo Malone or Bath & Body Works, or prefer hand-poured artisanal jars, the same principles apply.
By the end, you’ll know the proper relighting technique to extend your candle’s life while enjoying a safe, smoke-free glow.
Why Proper Relighting Matters
Relighting a candle is not the same as its first burn. On first light, the wax melts in a fresh, even layer, but after extinguishing, the wick changes shape and residue forms around it.
If you relight without preparation, you risk creating problems like tunneling, where the flame sinks into the wax and wastes the outer edges.
Careless relighting often leads to wick mushroom formation, a small carbon ball at the top of the wick that produces excess smoke and soot.
I’ve seen this ruin the fragrance throw of even high-end brands like Yankee Candle and Diptyque. Poor practices also shorten candle life, turning what should be 40 hours of clean burn time into only half of that.
Following relighting candles is about more than aesthetics. It’s part of candle safety practices that protect your home environment.
For example, if you relight in a drafty room, the flame dances unevenly and creates soot deposits inside glass candle jars.
Small habits like trimming the wick before relighting or checking for debris in the wax pool make a noticeable difference in performance and safety.
Preparing Your Candle Before Relighting
1. Trim and Check the Wick
Before relighting, the most important step is wick maintenance. A wick that’s too long produces tall, flickering flames and smoke.
The simple fix is trimming the wick to about 1/4 inch. I use wick trimmers, but nail scissors also work when you don’t have tools handy. Trimming helps control the flame and ensures a steadier burn.
If you notice a mushroom-shaped tip at the top, remove it before striking a match. Wick mushroom formation is a buildup of unburned carbon, and if left unchecked, it will create soot particles that cling to your walls and candle jar.
Clearing it away is an easy way to keep the flame clean and balanced.
2. Clear the Wax Pool
Another step I always take is checking the wax pool. Dust, pet hair, or even bits of used matches often find their way into candles left uncovered.
Lighting a wick surrounded by debris not only ruins the scent but also creates safety hazards. A clean wax pool allows the flame to burn evenly, without interference.
If you’re relighting after tunneling, be extra careful. Wax residue around the wick can suffocate the flame or cause it to flare unpredictably.
I often scoop out excess wax gently with a cotton swab to give the flame a stable base before relighting.
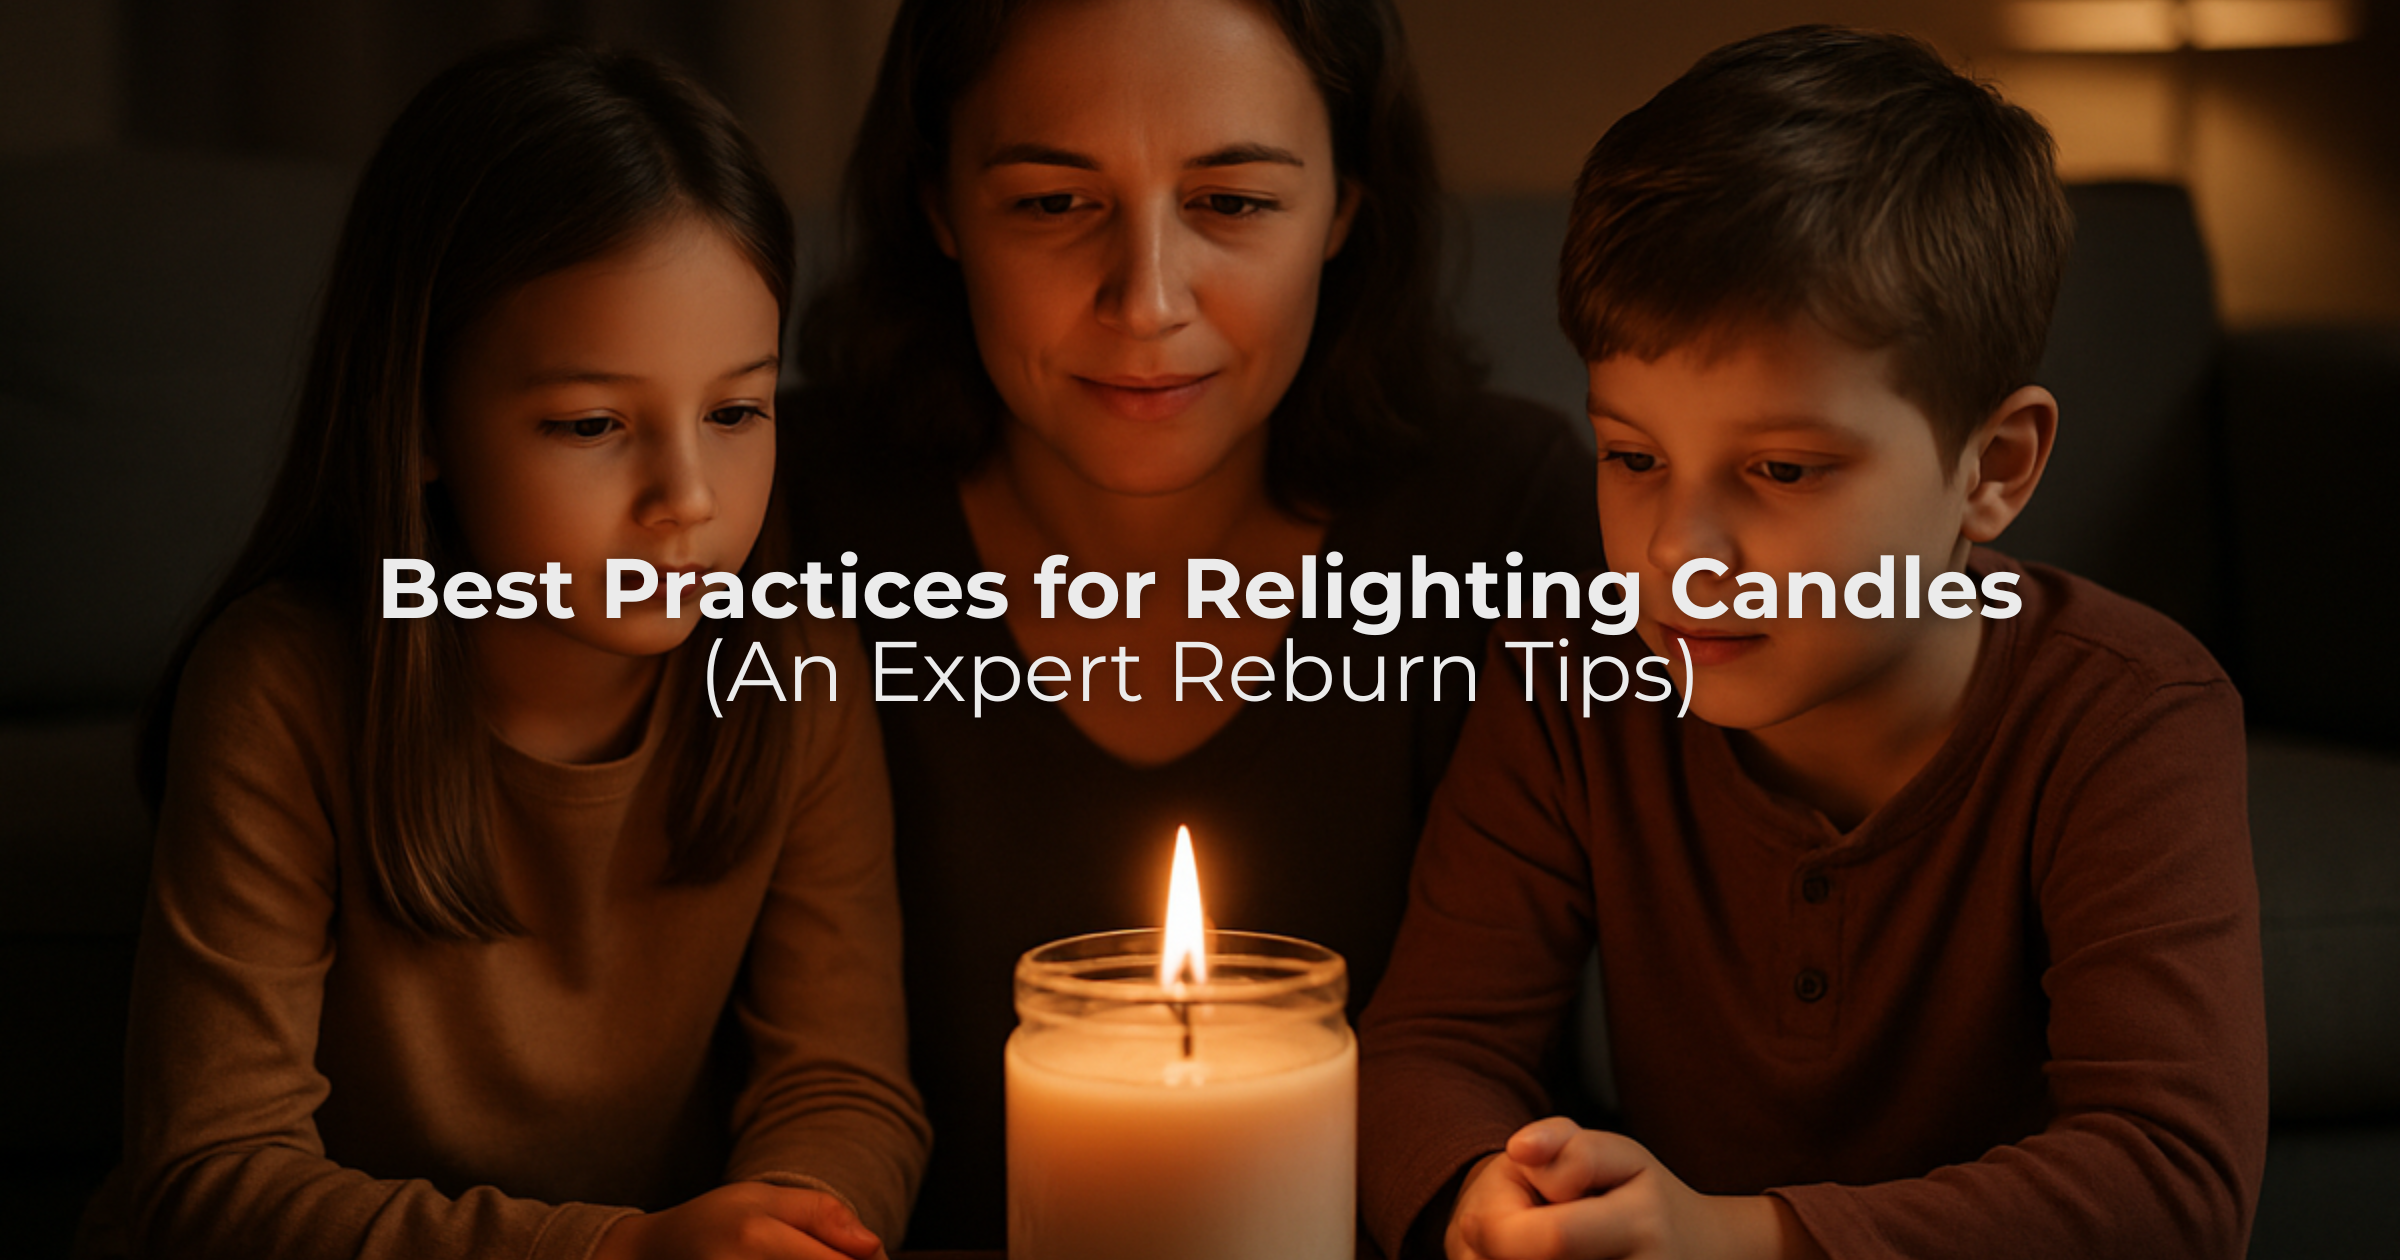
How to Relight a Candle Safely
When you’re ready, follow a proper relighting technique instead of rushing. Strike a long match or use a butane lighter, keeping your hand a safe distance from the flame.
Candle makers often recommend long matches for jar candles because they reach deep without burning your fingers.
Lighting from the base of the wick, close to the wax, is key. This ensures that the heat spreads evenly into the wax pool rather than just catching the wick tip.
I learned this trick after noticing that my wood wick candles struggled to stay lit if I only touched the top of the wick.
Avoid Drafts and Airflow
Relighting in a drafty space is one of the biggest mistakes I see. The flame bends and flickers, causing uneven melting and leaving trails of soot.
Whenever possible, I place candles away from open windows or fans. Stable air ensures a steady burn and reduces the risk of smoke.
Positioning the Flame Correctly
If you’ve ever relit a candle and seen smoke right away, the problem was likely where the flame met the wick.
Holding the match or lighter at the wick base melts wax faster, creating an even wax pool. This prevents tunneling and helps the fragrance diffuse properly.
With practice, this becomes second nature and makes relighting far more satisfying.
Best Way to Relight a Candle Without Smoke
One of the biggest frustrations people share with me is the puff of smoke that comes right after relighting.
That smoke isn’t just unpleasant; it carries soot particles that settle on nearby walls and furniture. Over time, I noticed that the way I relight a candle makes all the difference.
The best way to relight a candle without smoke starts with trimming the wick. A wick that’s too long or curled creates excess carbon and burns unevenly.
When trimmed, the flame stays steady and smoke-free. Using a butane lighter or long matches also helps because the flame is strong enough to ignite the wick quickly without prolonged exposure.
Relighting from the wax pool level rather than the very tip of the wick is another trick I use. By positioning the flame lower, the wax melts smoothly and ignites the wick evenly.
This method works especially well with glass candle jars and wood wick candles, where airflow and wick structure make smoke more likely.
I’ve also experimented with different extinguishing methods to make relighting easier. For example, using a candle snuffer instead of blowing out the flame leaves the wick cleaner.
That way, the next time I relight, there’s less residue and almost no smoke. Some friends prefer candle warmers for smoke-free relighting, though I still enjoy the ritual of striking a match.
Final Thoughts
Relighting a candle involves more than striking a match. How you prepare the wick, manage the wax pool, and position the flame determines whether you enjoy a clean, smoke-free burn or waste wax and shorten the candle’s life.
By following these best practices for relighting candles, you can enjoy safer, longer, and more fragrant burns every time.For beautifully crafted candles that make relighting even more rewarding, explore the collection at Karigar Style.