No products in the cart.
How to Make Soy Candles at Home (Follow 4 Easy Steps)
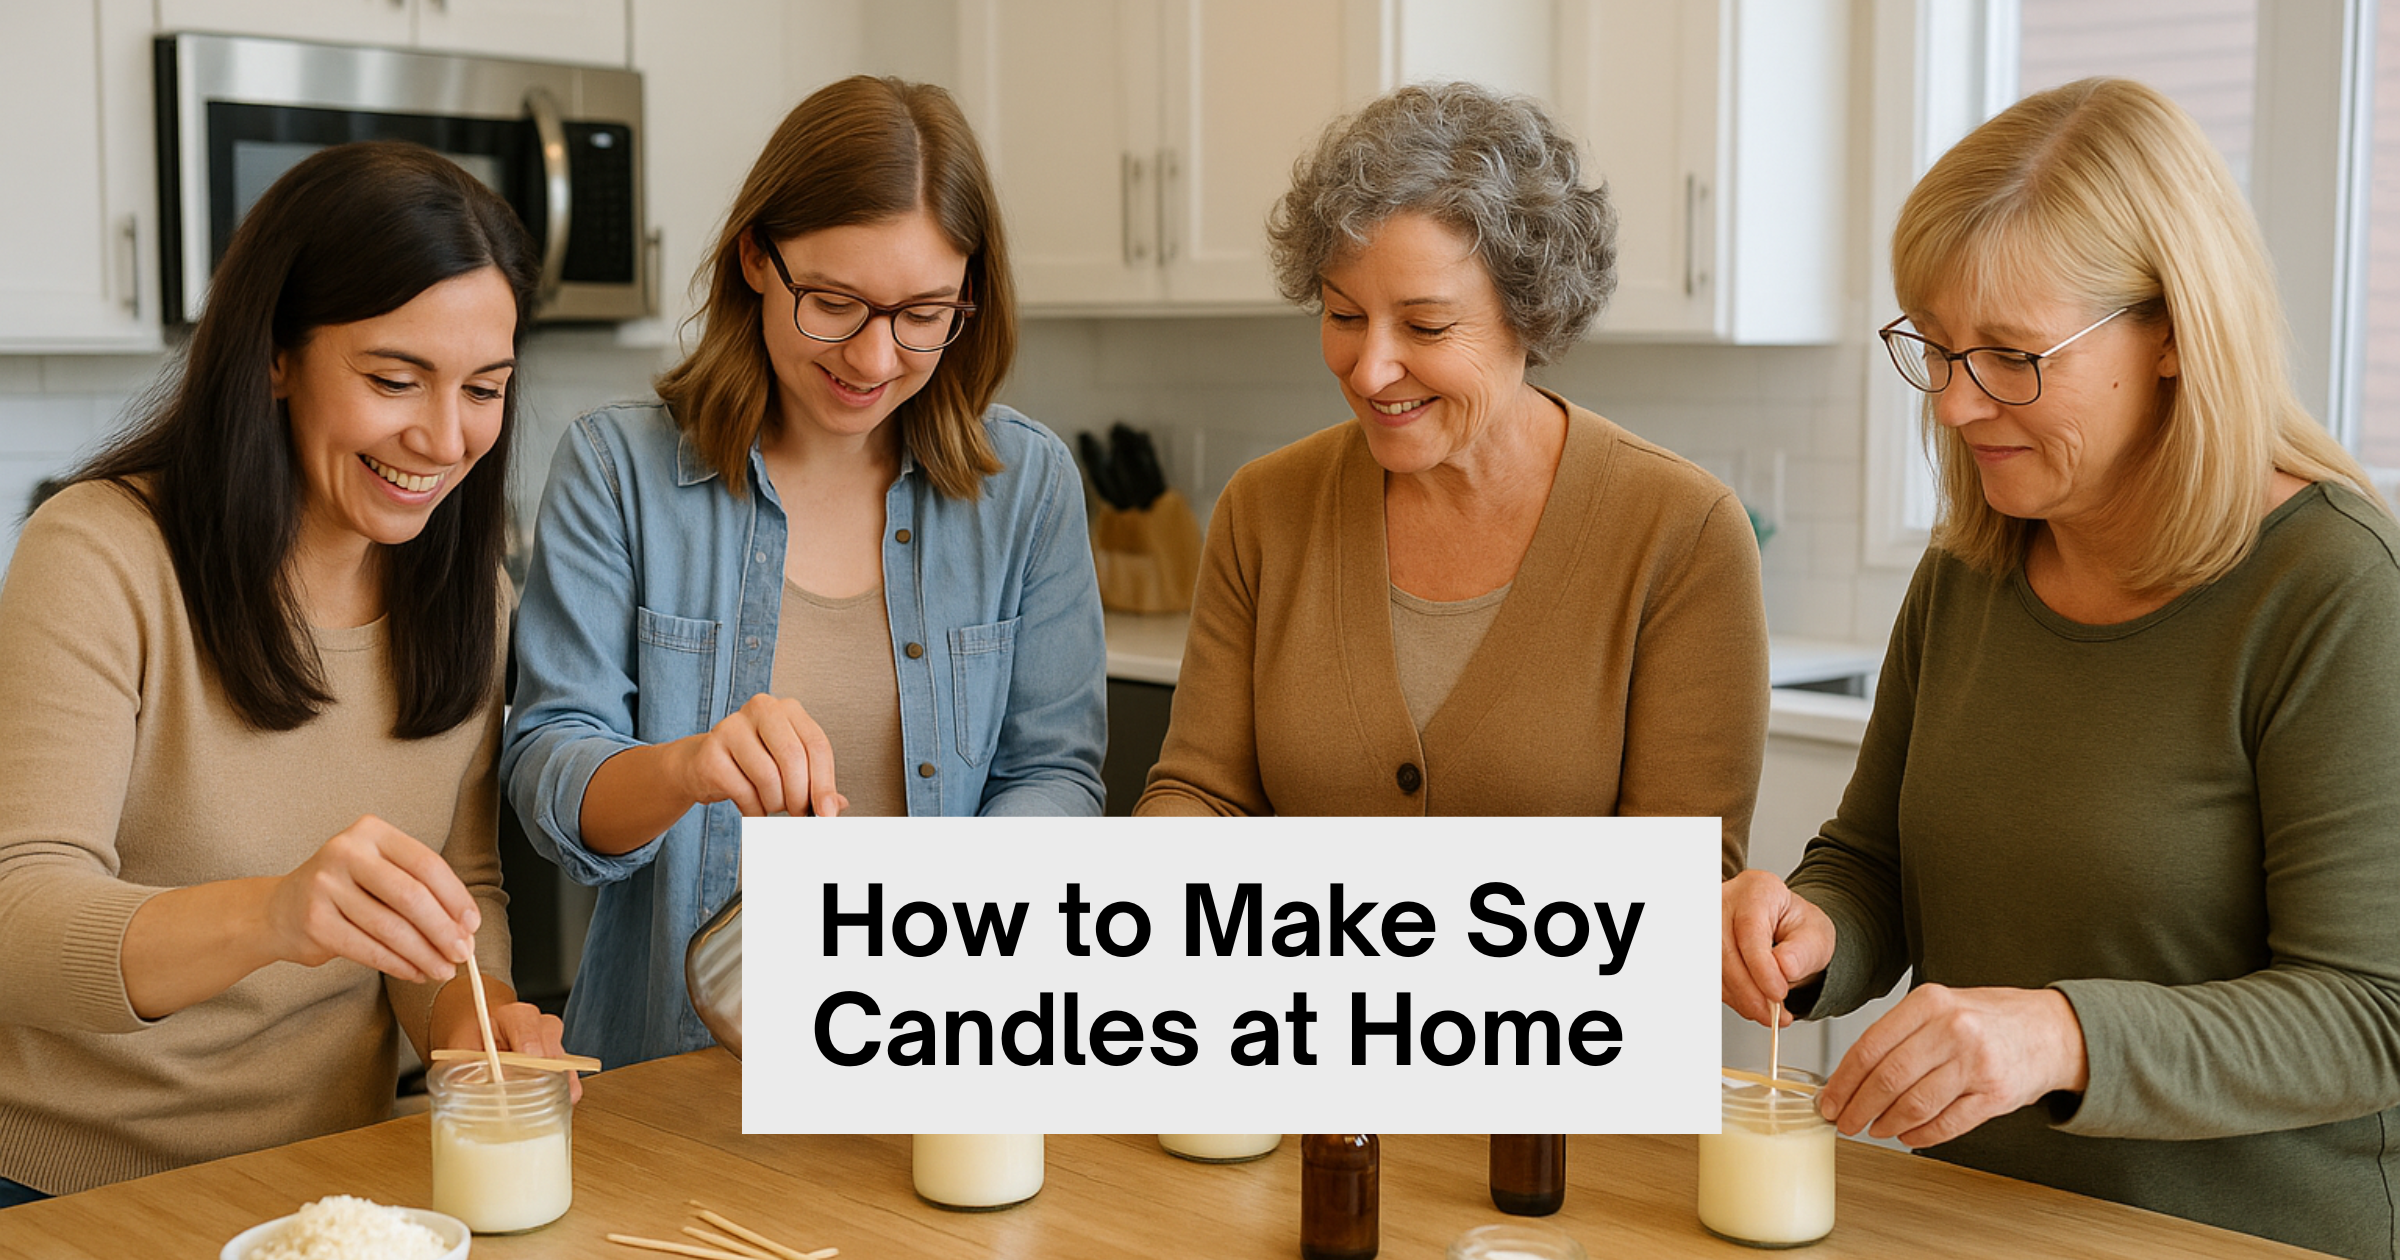
I remember the first time I tried making a soy candle. I thought it would be easy—just melt the wax, add the scent, pour, and done. Nope. My first candle had a crater in the middle, a wick that mushroomed like a bad haircut, and a scent so faint I had to hold it up to my nose to “smell” anything. It was messy. Frustrating. And, strangely, the start of a hobby I now genuinely look forward to on lazy weekends.
If you’ve been searching for how to make soy candles—really make them, not just “throw wax in a jar and hope”—you’re in the right place. I’m going to walk you through the complete soy wax candle-making instructions, from choosing the right materials to troubleshooting the common issues, and into creative customizations.
This isn’t some surface-level guide; it’s the kind of practical, nuanced post I wish I had when I started making candles. You’ll get a reproducible soy wax candles recipe, learn the soy candle-making technique that works, and understand why certain steps matter. Let’s start.
Materials and Tools You’ll Need: Making Soy Candles
Before you start melting anything, gather everything. Having to pause midway because you forgot a thermometer or the right wick size is a little headache I’ve already had—so learn from me and prep fully.
Materials
Soy wax flakes (I always use 100% natural soy wax—no blends unless you know what you’re doing). This is your base; it’s why these are “soy candles.”
Wicks: Cotton or wooden, sized appropriately for your container diameter. (Too thin and you get tunneling; too thick and you get soot and overheating.)
Fragrance oil or essential oils (if you’re making soy scented candles): Choose high-quality, candle-safe types. I aim for a fragrance load of about 6–8% of the wax weight—some scents need more, some less.
Dye (optional): For colored candles. Use dye specifically made for wax; otherwise, you’ll get streaks or separation.
Containers: Glass jars, tins, ceramic—clean and heat-resistant.
Wick stickers or glue dots: To secure the wick.
Wick centering tool: Clothespins, chopsticks, or commercial wick holders work.
Tools
Scale: Accuracy beats guesswork every time.
Double boiler setup (or a melting pitcher placed in hot water): To melt soy wax gently.
Thermometer: Candle thermometer or digital probe—critical for knowing when to add fragrance and when to pour.
Stirring utensil: A wooden spoon or silicone spatula.
Pouring pitcher: Something with a spout so you don’t make a mess.
Heat gun or hairdryer: Optional, for smoothing the top or fixing sinkholes.
Preparing for Soy Candle Making
This section is the unsung hero—most beginners rush into melting and skip preparation, which is why their candles look or burn off weirdly.
First, clean your containers. I mean clean. Soap, rinse, dry. Dust or grease can cause poor adhesion or weird cooling patterns. If you want to be extra cautious (I do), warm the containers slightly by letting hot water sit inside for a minute, then dumping it out and drying—this reduces shock when pouring warm wax into a cooler vessel.
Next, secure the wick. Use a wick sticker or a dab of hot glue (not all soy waxes love glue, so test) and press the wick tab into the center bottom of your container. This part determines if your candle burns evenly. If the wick isn’t centered, you’ll get uneven wax melt pools or tunneling. A small practice candle to test wick size can save hours of frustration—yes, I’ve done the trial-and-error more than I care to admit.
Measure your wax. I weigh it based on the container’s volume: a quick rule is that soy wax density is roughly similar to water, but always go by manufacturer guidance. If you’re making an 8-ounce candle, weigh the wax to match that (adjust for fragrance load—more on that next).
Step-by-Step Soy Candle Making Process
This isn’t the watered-down “melt, pour, wait” version you see a hundred times. I’ve pulled in little tweaks, counterintuitive moves, and underused hacks from my experience that make soy candles behave like premium, boutique-run products—even when you’re making them in your kitchen.
Step 1: Melting the Soy Wax
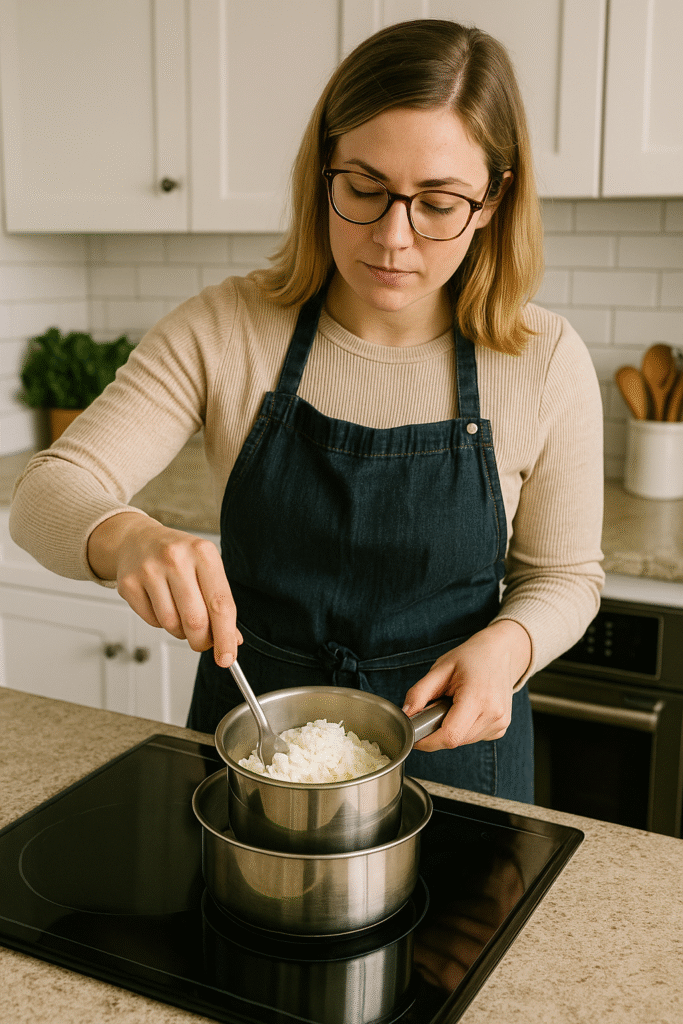
Most guides say “melt the wax.” That’s true—but there’s a difference between melting and tempering, and treating soy wax a bit like chocolate at this stage gives a smoother surface, fewer sinkholes later, and a more stable burn pool.
Heat the wax gently in a double boiler to about 170–175°F (77–79°C) until fully liquid. Then, instead of immediately proceeding, pull it off the heat and let it cool to around 155–160°F, stirring slowly the whole time.
This controlled cooldown (I call it a “soft temper”) helps align the soy crystal structure so when it re-hardens, it does so with fewer stress fractures (that’s what causes weird frosting patterns or uneven topography). After it reaches that intermediary temp, briefly reheat it back to 165–170°F to bring it to a workable state before fragrance addition.
Add a tiny pinch of finely ground vanilla bean or a neutral alkaloid carrier (not more than 0.1% by weight) to the melted wax during the temper stage. It binds subtly with fragrance molecules, smoothing out sharp top notes and improving perceived “depth” of scent—something that smells richer without increasing fragrance load.
Step 2: Adding Dye and Fragrance
Here’s where most people either ruin their scent or throw it in like it’s seasoning salt. I do a two-layer sensory integration:
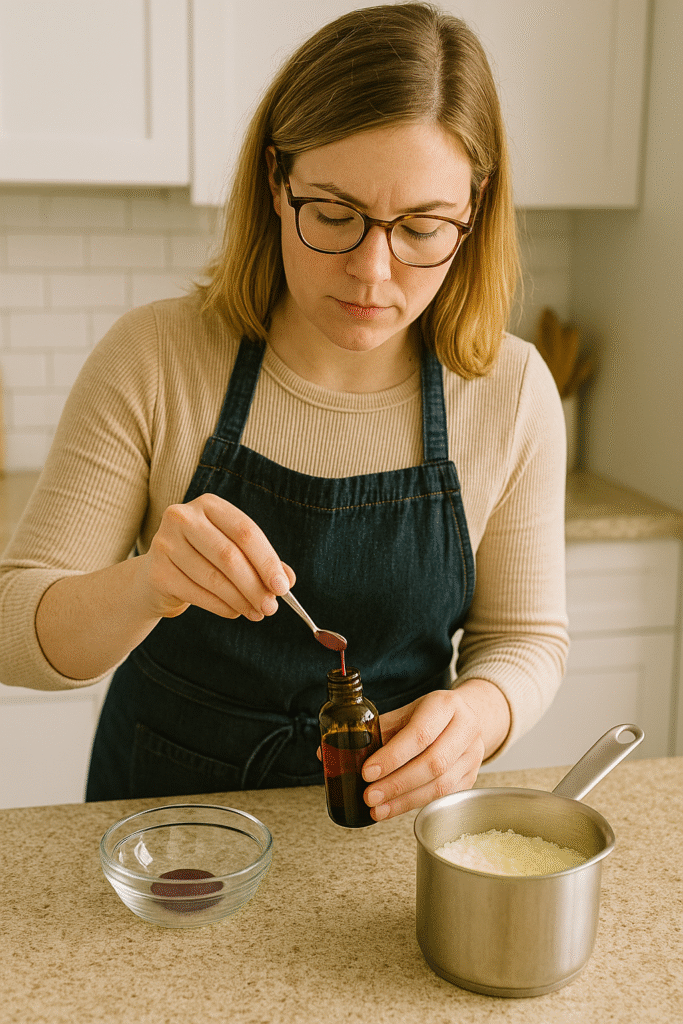
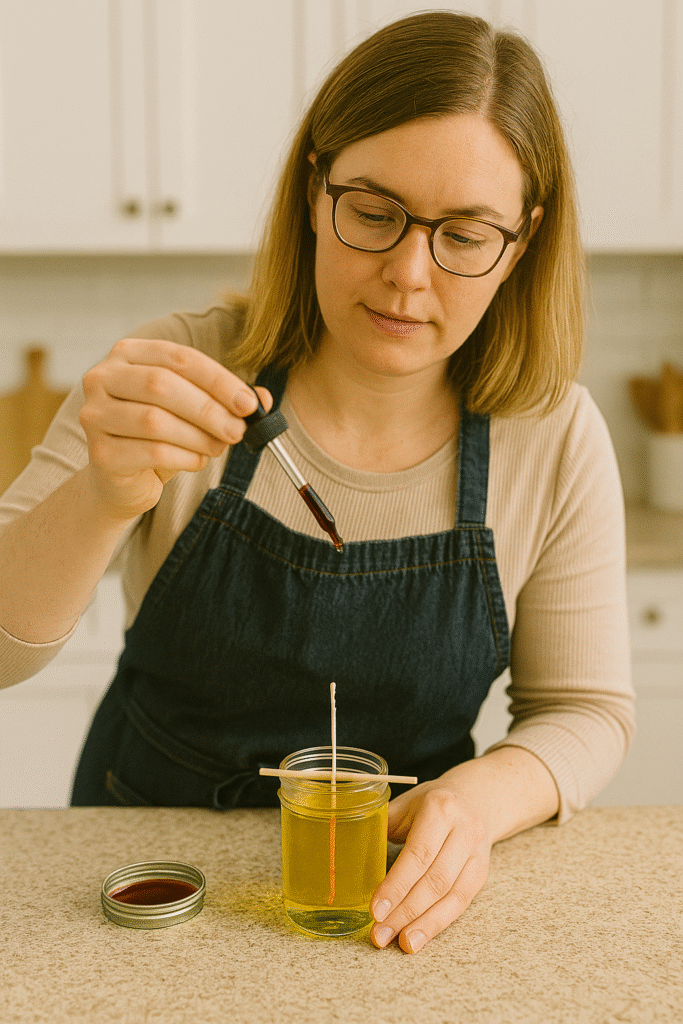
First, if you’re using dye, pre-disperse it in a tablespoon of melted wax in a separate small cup—use a mini whisk or even a coffee grinder to pulverize solid dye flakes if needed (especially for custom color layering). Once you’ve got a smooth micro-paste, fold that into the main wax so there’s no streaking or “clumping” later.
Second, fragrance addition: don’t just add it at a single temperature. Prepare your fragrance pre-blend—if using multiple notes, mix them in the proportion you want outside the wax first; this ensures the aromatic profile behaves consistently. Then, cool the wax to about 140–145°F (some blends tolerate 135°F; test for your specific oil), and add 70% of the total fragrance, stirring gently for 90 seconds.
Let it sit for a minute, then add the remaining 30% when the wax reaches around 135°F. This “staggered infusion” technique prevents volatile top-note loss and builds a more complex hot throw that unfolds while burning.
After blending, cover the vessel with a loose lid or breathable cloth and let it “marry” for 3–5 minutes before pouring. This micro-rest lets the oil and wax begin a gentle molecular accommodation so the fragrance doesn’t immediately start separating or rising—small but noticeable in consistency of throw.
Step 3: Pouring the Wax
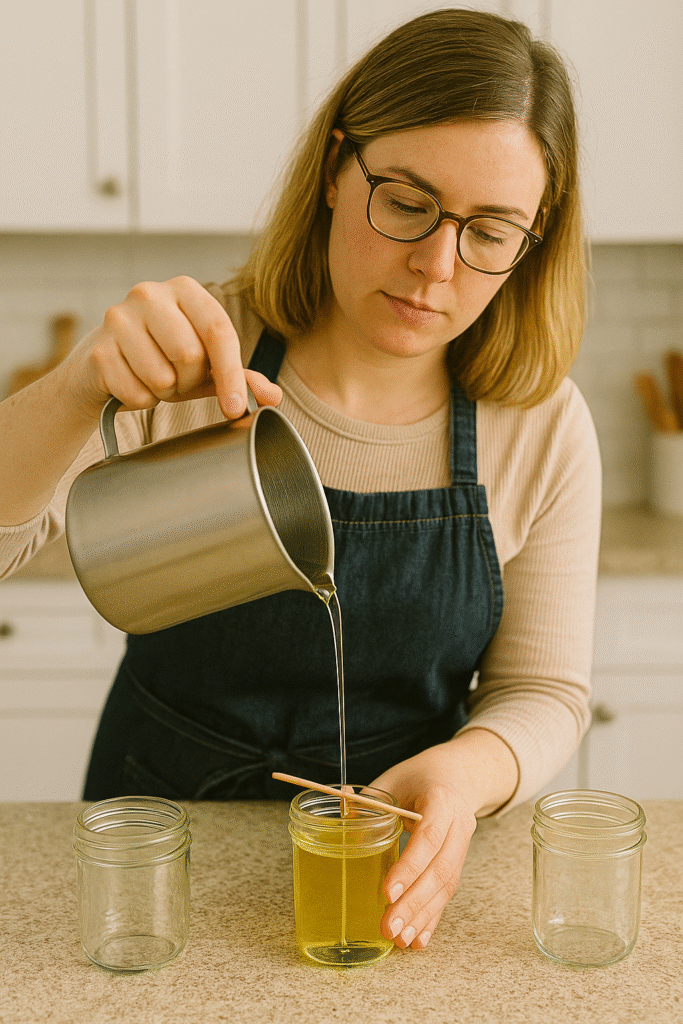
The pouring is often where the look and initial performance are made or broken. Instead of a single dump, do a controlled gradient pour: start by pouring a thin base layer (about 10–15% of volume), let it settle for 30–45 seconds (not harden), then pour the bulk slowly.
This starts the cooling from the bottom up and encourages a cleaner melt pool later. If you’re using a large vessel, do a light “top-off” about 5–10 minutes later to mitigate sinkhole formation around the wick—this is different from filling, it’s a strategic micro-adjustment.
Center the wick again lightly with a centering tool; don’t push hard (you’ll create a channel), just steady it. Then do not move the candle. Here’s the uncommon part: place the candle on a soft, vibration-dampening surface (I use a folded microfiber cloth under the candle). Micro-vibrations from countertops or people walking can create ripples and imperfections as the wax solidifies. Minimizing that gives a smoother finish without needing a heat gun fix.
If your ambient room has a draft, use a lightweight makeshift “air dome” (clear plastic bowl inverted at a distance) that keeps the immediate field still but doesn’t trap heat—tunnels form when uneven cooling happens; this reduces that risk.
Step 4: Setting and Curing
Most people set and forget, then light too soon. I treat the initial setting like a stress relief period for the wax/fragrance matrix. Leave the candle undisturbed for at least 6–8 hours in its normal position, then gently rotate it 180° once (yes, just once—this equalizes any micro-density differences forming as it solidifies). After another 12 hours, you can lightly press the surface with a clean tool (very gently) to feel if it’s mostly set—don’t dent it; just get a sense.
Then the curing: This is where “how to make soy wax candles” becomes an art. Rather than a flat timer, use “scent blooming checks.” Light a test candle at the 24-hour mark for 20 minutes. Snuff it, wait a day, and test again.
I’ve found some blends need the week to truly peak in hot throw—especially those with deep base notes like amber, tobacco leaf, or sandalwood. Keep a simple log (yes, I know it sounds overkill) of scent intensity vs. days; you’ll start seeing patterns with your specific oil suppliers.
Store curing candles in a consistent, slightly humid ambient (not damp)—extremely dry air can overly “set” the wax surface and blunt cold throw perception. I sometimes leave them covered loosely with a brown paper wrap (breathable) to protect from dust while allowing slow exchange.
Basic Soy Wax Candle Recipe Example
Here’s a recipe I use frequently for an 8-ounce glass jar candle:
- Soy wax flakes: 6.5 oz (about 185g)
- Fragrance oil: 0.5 oz (about 14g) for ~7.5% load
- Wick: Cotton, sized for 2.5–3” diameter jar (e.g., ECO 10 or equivalent)
- Optional dye: Pinch (blend until uniform)
Melt wax to 175°F, cool to 140°F, add fragrance and stir 2 minutes, pour at 130°F into a prepped jar with centered wick, let set 24 hours, cure 2–3 days before full burn.
For an unscented candle, skip the fragrance load and consider adding dried botanicals on top (only for décor, not to burn with the wick too close).
Customization Ideas and Advanced Tips
Once you’ve nailed the basics of making soy candles, the fun begins. Here are things I’ve played with that gave surprisingly good results:
- Scent Blending: Don’t just dump two oils together. Think in tiers: top note (citrus), middle (herbal/floral), base (vanilla/woodsy). I once made a “morning coffee” candle with a hint of roasted bean aroma, creamy vanilla, and a touch of cinnamon—it turned out richer than expected, and people asked if I was selling it.
- Essential vs Fragrance Oils: Essential oils are “natural,” but their cold/hot throw can be less reliable. Some, like lavender and eucalyptus, do well. Others fade. Fragrance oils are engineered for consistent scent performance. I usually do blends: mostly fragrance oil with a little essential oil for authenticity.
- Layered Candles: Pour two or three layers with different scents or colors. Let each layer set slightly before pouring the next. It’s not just pretty—it gives an unfolding scent experience.
- Embeds: You can embed small soy pieces or dried (non-flammable) decor in the top layer if the candle is meant for display more than burning.
- Wick experimentation: Even the same wax with different wicks behaves differently. I keep a “test board” where I pour small sample candles with varying wick sizes to see what gives the cleanest melt pool and best scent throw.
- Seasonal spins: Add a cinnamon stick (never burning inside) for fall-themed photography, or use kraft packaging for “gifts” with a little tag that lists the scent notes.
Safety, Quality & Troubleshooting
You’ve probably seen candles burn weirdly and thought, “What happened?” Here’s what I’ve learned the hard way.
Common Issues
- Tunneling: The candle burns straight down, leaving wax on the sides. Usually means the wick is too small or the first burn didn’t allow a full melt pool. Fix: Trim wick, do a proper first burn (let it burn until a full melt pool forms, typically 1 hour per inch of diameter), or reheat and top off.
- Weak Scent Throw: Could be low fragrance load, improper temperature when adding fragrance, or insufficient curing time.
- Frosting: A natural effect in soy wax where the surface gets a crystalline white texture. It’s cosmetic—doesn’t affect performance. Some people worry; I just remind them it’s natural and, honestly, kind of rustic-looking.
- Mushrooming wicks: The wick’s tip gets carbon buildup, creating soot. Trim to about 1/4” before each burn. Too much fragrance or an incorrect wick size can contribute.
Safety Tips
- Always burn candles on a heat-resistant, level surface.
- Never leave burning candles unattended (this is basic, but people forget when they’re multitasking).
- Keep away from drafts or anything flammable.
- Test new wick/wax/fragrance combinations in small batches—don’t scale before you know how it behaves.
Final Verdict
Making soy candles at home is one of those crafts that rewards patience, experimentation, and a little bit of curiosity. I’ve shared the soy wax candle-making instructions I’ve refined through trial and the little mistakes that taught me the most. Now it’s your turn: grab some soy wax, pick a scent that makes you happy (or reminds you of home), and try this recipe. Start with a basic jar, then riff—blend, layer, color, accessorize.
If you liked this guide, grab the printable checklist (link / subscribe prompt here), share your first candle photos with me, or comment below with what scent combo surprised you most. And hey—if you want more, I’ve got a few advanced candle-making experiments coming, including wooden wick mastery and sustainable packaging ideas.
If you want to skip the mess, the learning curve, or just don’t feel like getting your hands dirty, you can also buy ready-made soy wax candles or order custom candles from Karigar Style—they’ve got options if you’d rather enjoy the glow than build it. Either way, light something that smells like you.
Frequently Asked Questions (FAQs)
What is the best temperature to add fragrance to soy wax?
Typically between 135–145°F (57–63°C). This temp balances absorption without evaporating the scent. Too hot, and the fragrance can degrade; too cold, and it won’t bind well.
How long should soy candles cure before burning?
I recommend at least 24–48 hours; a week is ideal if you want maximum scent throw. Curing lets the fragrance fully integrate into the wax matrix.
Can I use essential oils in soy wax candles?
Yes, but with caution. Some essential oils have a weak hot throw or can change scent when heated. Blending them with fragrance oils often gives a better balance of natural smell and performance.
Why is my soy candle tunneling?
Commonly, because the first burn didn’t create a full melt pool, or the wick is undersized. Always allow the first burn to reach the edges and assess the wick size if it keeps happening.
How do I choose the right wick for soy wax?
It varies based on container diameter and wax type. Start with manufacturer charts, then do small test burns. Cotton vs wood wicks also change melt characteristics—wood gives a crackle, cotton a traditional flame.
Is soy wax better than paraffin?
In my experience, yes—especially for home hobbyists. It burns cleaner (less soot), is plant-based, and has a slower burn. That said, paraffin sometimes gives a stronger hot throw out of the box, so it boils down to your goals (natural vs maximum scent intensity).

Nav Preet is the founder and creative soul behind Karigar Candles. Inspired by heritage, nature, and the warmth of handmade artistry, she crafts candles that do more than glow—they evoke emotion. Through this blog, she shares her love for scents, styling, and mindful living, one flame at a time.
Creative Head at Karigar Style


