If you have ever truly have ever wondered how to make a wax melt, you are not alone. These little scented cubes are one of the most popular ways to fill a room with fragrance.
Unlike a candle, they don’t need a flame, which makes them safer and easier to use in many homes.
People love them for the cozy aroma they create, the ability to customize scents, and the cost savings compared to store-bought options.
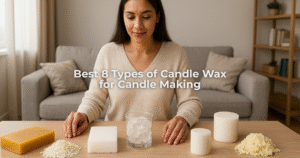
To understand the basics, it helps to know what wax is made of for candles and what candles are made of.
Candle wax can be soy, beeswax, coconut, or paraffin, and each choice affects burn time, scent strength, and eco-friendliness.
With homemade wax melts, you get control over every part of the recipe, from the wax base to the fragrance oils. This flexibility is what makes the DIY approach so rewarding.
What Are Wax Melts and How Do They Work?
Wax melts are small cubes or shapes of scented wax that release fragrance when warmed in a melt burner. Instead of a wick and flame, they rely on gentle heat to liquefy the wax and release the aroma into the air.
Learning how to make your own wax melts at home lets you enjoy the same benefits while saving money and reducing waste.
Compared to candles, wax melts often provide a stronger scent throw because the entire surface of the wax is heated at once. They are safer in spaces where open flames are not ideal.
The basic components include the type of wax, the fragrance oil or essential oil, and sometimes added color.
By experimenting with these, you can create melts that fit your personal style and fragrance preferences while understanding more deeply what a candle is made of in the process.
Materials and Tools You’ll Need
To make your own wax melts, start with a wax base. Soy wax is natural and eco-friendly, beeswax has a gentle honey scent, coconut wax blends beautifully, and paraffin provides strong scent throw, though it is less sustainable.
Choosing the right wax is one of the first steps in wax melts DIY.
Fragrance is the heart of every batch. You can use essential oils for a natural approach or fragrance oils for more complex blends.
Always check flash points to make sure oils are added at safe temperatures. Optional extras include dyes, dried flowers, or mica powders for decoration.
For equipment, gather a double boiler or microwave-safe container, a thermometer, a digital scale, and silicone molds. These basics will make it easier to craft consistent and homemade wax melts.
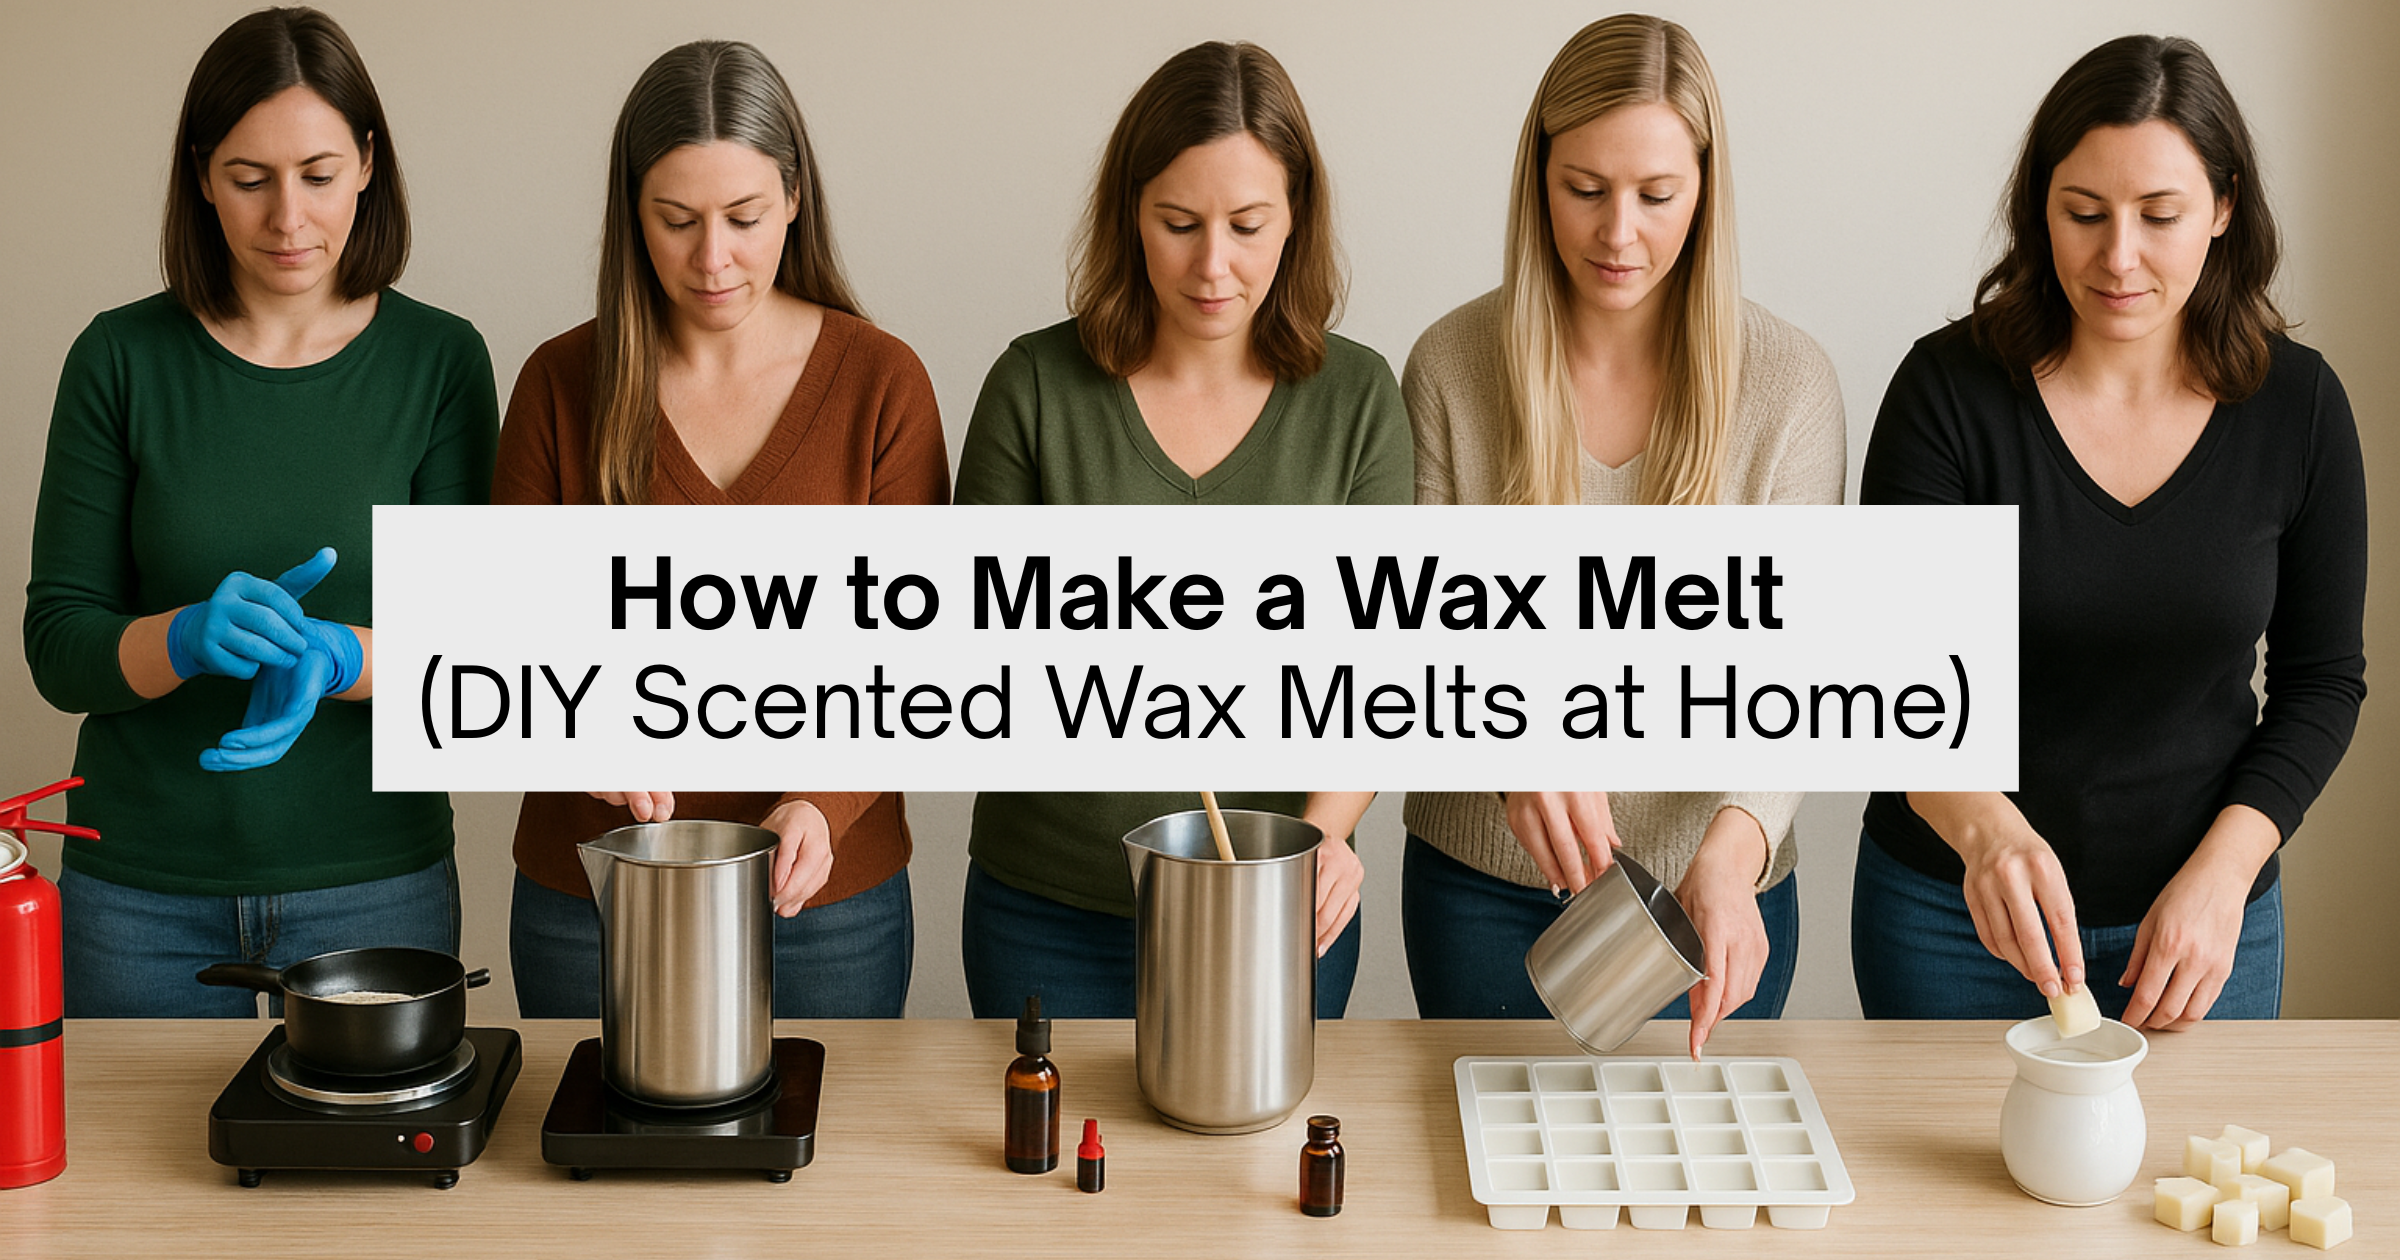
Step-by-Step Wax Melt Recipe (DIY Guide)
Making wax melts DIY is simple when broken into steps. Begin with safety, keeping your workspace clean and ventilated, and always handle fragrance oils carefully.
Preparing ahead ensures smooth progress when you make wax melts for the first time.
The process starts with measuring and melting the wax using a double boiler or microwave. Once melted, let the wax cool slightly before adding fragrance oil.
Stir slowly to mix thoroughly, then pour into molds. Allow the melts to cure for at least 24 hours, which improves scent throw.
Finally, test one in your warmer to see how it performs. This recipe can be adjusted over time to make stronger or lighter scents depending on your preference.
Step 1 – Prepare Your Workspace and Safety Precautions
Before you begin, clear a dry area where you will be working. Keep children and pets away to avoid accidents. Wear gloves when handling fragrance oils, as some can irritate skin.
A well-ventilated room helps control fumes. If you understand safe temperatures, you can avoid overheating and create a smooth base for making candle melts.
Taking care at this stage gives you peace of mind as you move forward.
Simple habits like using heat-resistant tools and keeping a fire extinguisher nearby make making wax melts at home safer and more enjoyable.

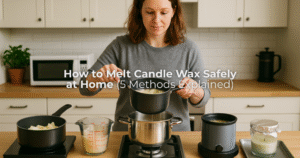
Step 2 – Measure and Melt the Wax
Start by weighing your wax with a digital scale—for beginners, try 200 g, which makes around 8–10 melts. Use a double boiler (water at 80–90°C / 175–195°F) or a microwave in 30-second bursts, stirring after each round so the wax heats evenly.
Melt slowly to avoid scorching. Soy wax melts best at 70–75°C (160–170°F), while coconut wax should stay around 60–70°C (140–160°F). Stir gently with a spatula until fully clear with no flakes.
The goal is to hit the right melting point without exceeding 90°C (194°F), which can damage texture and fragrance. Getting this right ensures a smooth base and makes each batch consistent and easy to repeat.

Step 3 – Add Fragrance and Optional Color
Once the wax has melted and cooled slightly, it is time to add your fragrance oil or essential oil. The usual ratio is 6–10 percent fragrance by weight.
For example, in 200 grams of wax, you would add 12–20 grams of oil. Stir slowly but thoroughly so the scent blends evenly. If you want colored melts, add a few drops of liquid dye or a pinch of mica powder.
This is the stage that brings the melts to life, and it is the heart of how to make scented wax melts. Scents like lavender, vanilla, or citrus are popular starting points.
When making a custom wax melt recipe, always pour fragrance at the right temperature to avoid losing scent strength. Careful blending here gives you a more professional finish.

Step 4 – Pour into Molds and Let Cure
Prepare your molds ahead of time, using silicone trays or clamshell containers. Slowly pour the wax mixture into each cavity, taking your time so no air bubbles form.
Let the wax cool naturally at room temperature. This prevents cracks or uneven surfaces. Once cooled, leave the melts to cure for at least one day, although soy wax often benefits from a full week of curing for stronger scent throw.
When you make your own wax melts, patience in this step pays off. Allowing the wax to rest improves texture and fragrance release.
If you want the best results in making wax melts at home, curing is just as important as melting and mixing.

Step 5 – Test and Enjoy Your Wax Melts
Once cured, remove a few cubes from the mold and place them in a wax warmer. Watch how they melt and note how the fragrance fills the room.
If the scent feels weak, adjust your fragrance load in future batches or try a different wax type. Testing helps you fine-tune your formula until it matches your preferences.
This final stage completes the process of making candle melts. It is also where you discover the joy of experimenting.
The more you practice making wax melts at home, the better you will get at balancing scent strength, texture, and design.

Variations and Creative Ideas for Wax Melts
Once you know the basics of how to make scented wax melts, you can get creative with your designs. Try layered melts by pouring two different colors or scents one after another for a fun surprise when they warm.
Seasonal blends are also popular, like cinnamon and clove for winter or lavender and citrus for spring.
Adding botanicals like dried rose petals or lavender buds gives a natural look, but remember to use them sparingly to avoid clogging warmers.
Experimenting with colors, textures, and oils allows you to create unique gifts or personal collections.
Learning how to make your own wax melts with creative twists makes the craft even more enjoyable and rewarding.
Troubleshooting Common Wax Melt Problems
Even with practice, small issues can happen when making wax melts at home. A weak scent throw often comes from using too little fragrance or pouring at the wrong temperature.
Adjusting your fragrance load or changing your wax type usually solves the problem.
You may also see frosting or white patches when using soy wax. This does not affect performance, but pouring at a steady temperature helps reduce the effect.
Cracks and uneven surfaces can occur if the wax cools too quickly, so let molds sit in a stable environment. Oil separation happens when fragrance is added at too high a temperature, so always allow wax to cool before mixing.
By tracking your process, making candle melts becomes smoother and more reliable over time.
Storage, Shelf Life, and Gifting Tips
After creating a batch of homemade wax melts, storage is key for keeping them fresh. Place them in airtight containers and store in a cool, dark area to prevent fragrance loss.
Properly stored melts can last up to a year while maintaining a strong scent throw.
For gifting, you can use clamshell containers, paper wraps, or jars with decorative labels. Creative packaging makes them feel more personal and thoughtful.
Since you learned how to make a wax melt, sharing them as handmade presents adds charm and shows care. With simple wrapping and labeling, your melts become both practical and meaningful gifts.
Safety and Eco-Friendly Considerations
When you make wax melts, think about the long-term impact. Choosing soy or coconut wax helps reduce the environmental footprint compared to paraffin.
These natural waxes burn cleanly and are renewable, making them better choices for eco-friendly crafting.
Handle fragrance oils with care, following safe usage amounts, and never leave a wax warmer unattended. If you want to reuse old batches, melt them down again and add fresh fragrance oil to extend their life.
These small habits make making wax melts at home safer and kinder to the planet while still giving you all the fragrance benefits.
Final Thoughts
Making your own wax melts at home is both simple and rewarding. With just a few ingredients—wax, fragrance, and molds—you can create custom scents that rival store-bought options at a fraction of the cost. By learning the right temperatures, fragrance ratios, and curing times, every batch becomes more consistent and enjoyable.
DIY wax melts not only save money but also let you experiment with endless combinations of oils, colors, and designs to match your style or the season. Whether you’re crafting for personal use, gifting to friends, or exploring a new hobby, each melt is a chance to add warmth and fragrance to your space without the need for a flame.
Once you master the basics, the possibilities are endless—so grab your wax, choose your favorite scent, and start creating melts that make every room feel inviting and unique.
And if you’d rather skip the process and still enjoy premium fragrances, you can also buy ready-made candles directly from Karigar Style—crafted with the same care and quality, ready to brighten your home instantly.
Frequently Asked Questions
Can I use candle wax for wax melts?
Yes, but the best results come from waxes formulated for melts, as they release fragrance more effectively.
How long do wax melts last in a warmer?
A single cube can last 6 to 12 hours, depending on wax type and fragrance strength.
How much fragrance oil should I add to wax melts?
Typically, 6 to 10 percent of the wax weight, but always check the guidelines for your specific wax.
Do wax melts need to cure before use?
Yes, curing for 24 to 48 hours improves scent throw and overall performance.
Can I reuse or recycle old wax melts?
You can remelt them and add fresh fragrance oil or use them in fire starters, which makes them practical even after their scent fades.