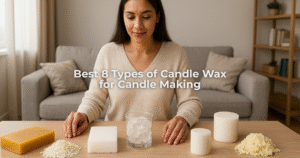
When I first started making candles years ago, I loved the flicker of an open flame. But after countless hours of testing wax blends, I realized that the scent often burns away too quickly.
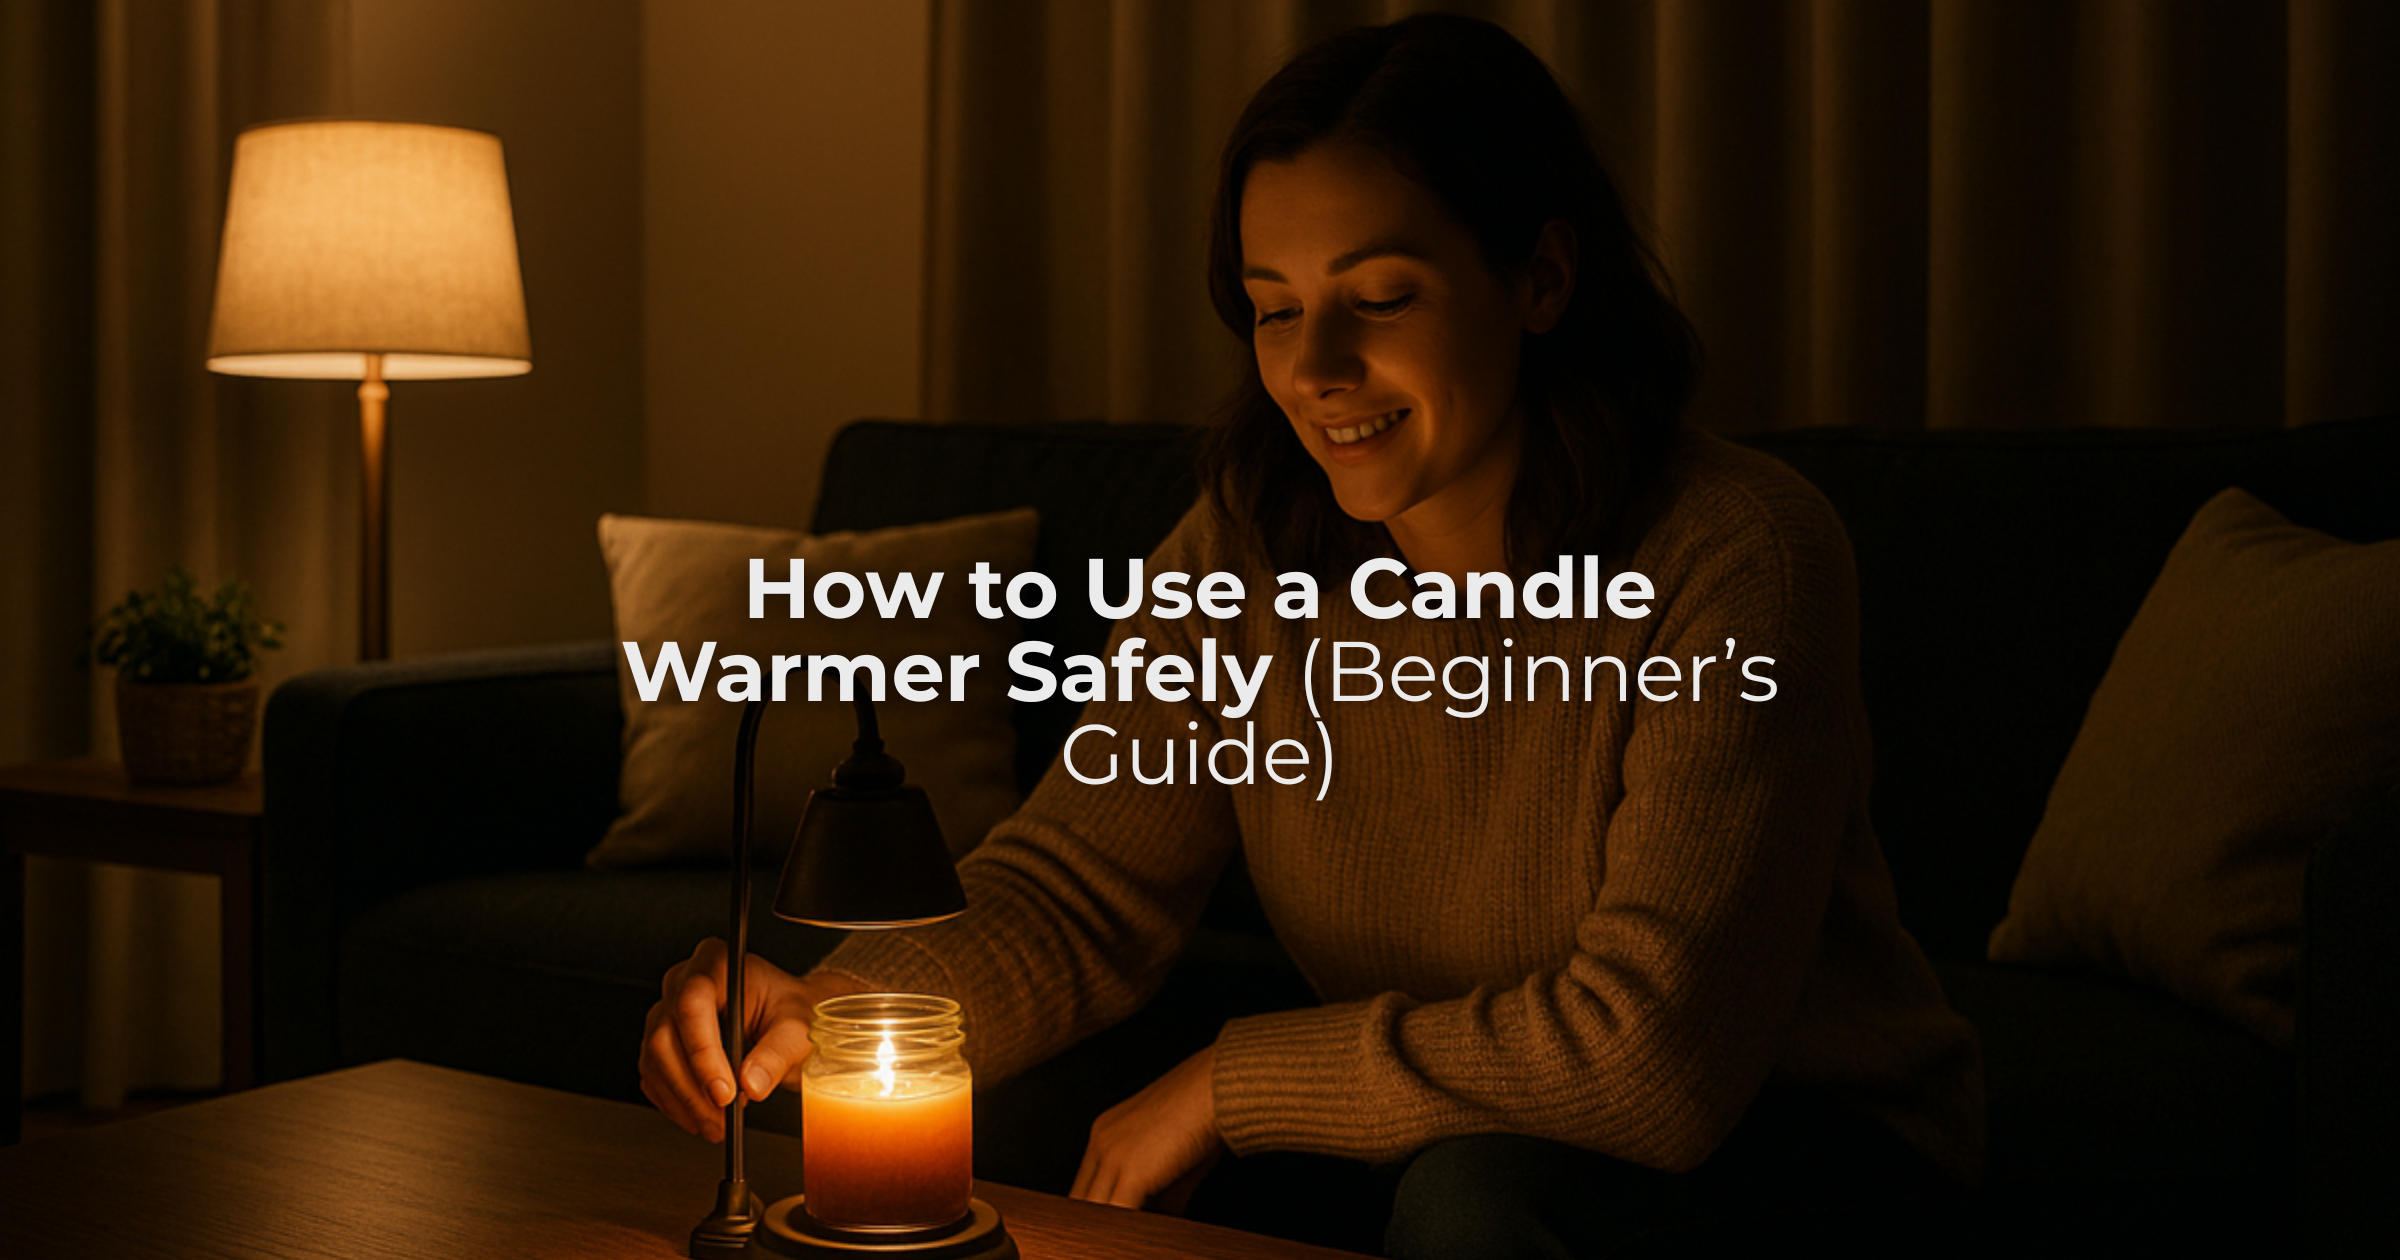
That’s when I turned to a candle warmer, a simple, electric home fragrance device that lets you enjoy every note of your favorite candle without lighting it.
If you’ve ever wondered how to operate a candle warmer or how to melt candles without flame, this guide will help you do it right.
I’ll walk you through how candle warmers work, the exact steps to use a candle warmer, and the safest way to enjoy a consistent aroma from your scented candle jars.
What Is a Candle Warmer and How Does It Work?
A candle warmer is an electric device that melts candle wax without the use of a flame. It gently heats the wax surface, releasing fragrance oils through slow fragrance diffusion, giving you scent without smoke, soot, or wick maintenance.
There are two main types: the electric candle warmer plate, which heats the base of jar candles, and the candle warmer lamp, which melts wax from above using a light bulb.
Both provide a flameless, safe, and efficient way to enjoy scent indoors.
Inside the warmer, electricity powers a heating coil or bulb, transferring heat through a ceramic or metal plate until the wax liquefies.
As it melts, the essential oils vaporize gradually, filling your space with a clean, long-lasting aroma.
Because there’s no open flame, candle warmers are ideal for homes with children or pets. They also make your wax last longer and preserve the candle’s original fragrance quality.
What Are the Steps to Use a Candle Warmer Correctly?
Over the years of testing different wax blends, I’ve learned that the way you operate a candle warmer matters as much as the warmer itself.
Here’s the proper way to use a candle warmer for the best fragrance and longevity.
Step 1: Choose the right candle or wax.
Pick a jar candle that fits securely on your electric candle warmer plate. Avoid oversized jars that hang over the edges.
If you’re using wax melt cubes, place them in the top dish of a wax tart warmer or wax melt burner. Both work beautifully when made with soy or blended wax since they melt evenly.
Step 2: Set up the warmer on a stable surface.
Make sure your warmer sits on a flat, heat-resistant area away from fabrics or drafts.
I always keep mine on a ceramic countertop to maintain even temperature and avoid accidents.
Step 3: Plug it in and switch it on.
Most warmers begin heating within a few minutes. You’ll notice the wax turning glossy as it starts to liquefy.
This gentle heat-based melting is what separates a warmer from open flames; it releases fragrance slowly without burning the wax.
Step 4: Enjoy the fragrance.
Allow the scent to build up gradually. Depending on the wax type and warmer model, full aroma diffusion usually takes 20–30 minutes.
I often keep mine running for two hours at a time, just enough to fill the workspace with fragrance without overheating the wax.
Step 5: Turn off and let it cool.
Once the wax has melted and released most of its scent, switch the warmer off. Allow it to cool fully before touching or cleaning.
If you have a timer or auto shut-off system, it will handle this automatically.
That’s it. Following these simple candle warmer instructions ensures consistent scent throw and helps your wax last longer.
How to Use a Candle Warmer Safely at Home?
As simple as they seem, warmers still rely on electricity and heat, so using a candle warmer safely is essential.
Here’s what I follow in my studio and at home.
1. Use UL-certified warmers only.
Certified devices ensure electrical safety and consistent heat output. Never use unbranded models without certification.
2. Avoid leaving the warmer unattended.
Even though it’s flameless, it still generates heat. Always unplug it if you’re leaving the house or going to bed.
3. Keep away from moisture and flammable materials.
Don’t place your electric candle warmer plate near curtains, papers, or water sources. A heat-resistant bamboo base or ceramic surface works best.
4. Clean the wax dish properly.
Once the wax cools, remove it with a gentle push or place the dish in the freezer for a few minutes to pop it out easily.
Wipe residue with a soft cloth; avoid metal tools that may scratch the ceramic-coated heating surface.
5. Watch the heat duration.
If your warmer doesn’t have adjustable temperature control, run it in shorter intervals to prevent overheating.
Continuous heating can thicken wax and reduce scent performance.
By following these candle safety guidelines, you’ll keep your space safe and extend the life of your warmer.
A little attention goes a long way in maintaining both performance and peace of mind.
Final Thoughts
Using a candle warmer transforms how you experience scent. It gives you control, safety, and a longer-lasting fragrance—all without the risks of an open flame.
Whether you’re learning how to use a candle warmer for jar candles or exploring the electric candle warmer guide for your first setup, you’ll appreciate how effortless it feels once you get it right.
I still remember the first time I melted a soy candle on a warmer instead of lighting it. The aroma felt purer, more balanced, and surprisingly stronger.
Since then, it’s become a part of my everyday workspace routine. If you’re looking for beautifully crafted candles that perform perfectly on warmers, explore the collection at Karigar Style.